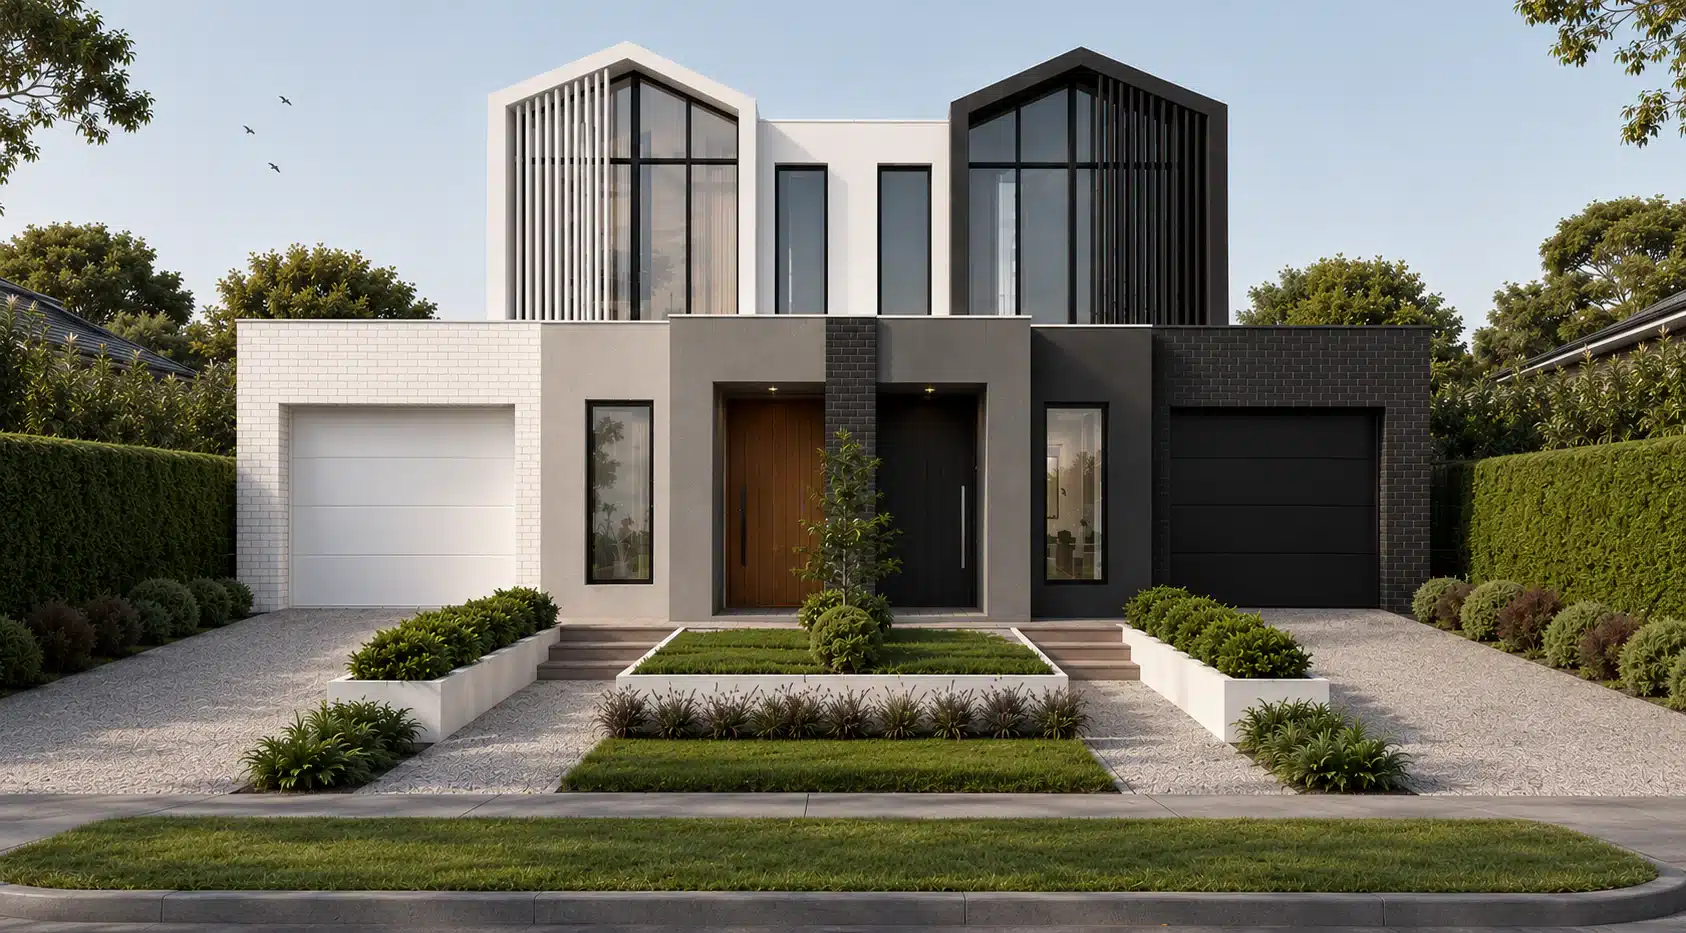
The colour selection appointment is where your new home stops being a floor plan and starts becoming a place with texture, warmth, and character. It is one of the most anticipated milestones in the build process and one of the most consequential. The decisions you make in this appointment determine how every room looks, how the facade presents, and how the finishes work together as a complete composition.
Most clients find this stage exciting. Some find it overwhelming. The difference usually comes down to preparation. Clients who arrive with a clear sense of direction move through selections with confidence. Those who arrive undecided tend to second guess everything and leave feeling uncertain about choices that will be permanent.
This guide covers what a colour selection appointment actually involves, how to prepare before you arrive, what you will choose on the day, and how to make decisions that hold up long after the excitement of the appointment has faded.
What Is a Colour Selection Appointment
A colour selection appointment is a dedicated session where you choose the interior and exterior finishes for your new home. This includes everything from brick and roof tile colours through to benchtop stone, cabinetry finishes, tapware, floor coverings, and paint.
The appointment is typically held at a display centre or supplier showroom where physical samples are available. You are not choosing from photographs or screen images. You are handling the actual materials, comparing them side by side, and seeing how they respond to different lighting conditions.
At Senka, this appointment is scheduled after the working drawings for your new home build are finalised and before construction begins on the internal fit out stages. The timing matters. Your selections need to be locked in before trades are scheduled, materials are ordered, and lead times begin.
The appointment is structured and guided. You are not left alone in a showroom trying to piece together a home from thousands of individual samples. A colour consultant walks you through each category, presents options that work within your specification, and helps you build a cohesive palette.
It is worth understanding that many of the decisions made in this appointment are permanent. You cannot change a brick colour once the bricklayer has started. You cannot swap a benchtop stone once it has been cut and templated. Preparation is the best insurance against regret.
How to Prepare Before You Arrive
Preparation is not about arriving with every decision made. It is about arriving with a clear direction so the appointment becomes a refinement process rather than a starting point.
Build a visual reference. Collect images of homes, kitchens, bathrooms, and facades that appeal to you. Focus on the overall mood rather than individual elements. Are you drawn to warm tones or cool? Light and airy or grounded and earthy? Modern minimalist or textured and layered? This gives the consultant a starting point.
Walk through display homes. Visit at least two or three display homes before your appointment. Pay attention to how finishes feel in person versus how they appear in photographs. Tiles that look pale on a screen can read completely differently under natural light. Benchtop veining that seems subtle in a photograph can dominate a kitchen in person.
Consider your orientation. The direction your home faces affects how colours read throughout the day. A south facing living area receives cooler, indirect light, which can make grey tones feel cold. A north facing room in Melbourne gets warm, consistent light, which flatters neutral palettes and makes warm tones feel richer.
Know your non negotiables. Most clients have one or two finishes they feel strongly about. It might be a specific stone slab, a particular floor colour, or a facade brick. Identify those anchors early. The rest of the palette builds around them.
Review your floor plan. Understand which rooms are open to each other. An open plan kitchen, dining, and living area shares a single visual field. The flooring, cabinetry, benchtop, and splashback all need to work together because they are seen simultaneously.
Bring your partner. If two people are making decisions, both need to be at the appointment. Relaying options after the fact almost always creates friction and delays.

What You Will Choose on the Day
The scope of selections varies depending on the builder and specification level. At Senka, the selection process covers every visible surface in your home. The categories typically include:
Exterior selections:
- Brick or cladding colour and profile
- Roof tile or metal roofing colour
- Fascia, gutter, and downpipe colour
- Garage door style and colour
- Front door design and finish
- Driveway finish (exposed aggregate, honed, or standard concrete)
- Fence style and colour
- Letterbox and house number style
Interior selections:
- Floor coverings (timber, hybrid, or tile and the specific colour and format)
- Kitchen cabinetry colour and profile
- Benchtop stone (material, colour, edge profile, and thickness)
- Splashback material and colour
- Bathroom tile selections (floor, wall, and feature)
- Bathroom vanity, mirror, and cabinetry
- Tapware finish (chrome, matte black, brushed nickel, or gunmetal)
- Door handles and hardware
- Internal paint colour
- Laundry cabinetry and trough
- Wardrobe fitout configuration
Fixtures and fittings:
- Lighting layout and switch plate finish
- Powerpoint finish
- Rangehood style
- Cooktop and oven selection
This is a significant number of decisions. A well run appointment groups them logically, starting with the largest surfaces (brick, flooring, paint) and working down to the detail elements (handles, tapware, switch plates). Each decision informs the next, which is why the sequence matters.
Tips for Making Decisions You Will Not Regret
The most common regret in colour selection is not choosing the wrong colour. It is choosing based on a trend rather than a principle.
Start with the largest surfaces. Brick covers the most visible area on the exterior. Flooring covers the most area internally. These two selections set the tone for everything else. Get them right and the smaller decisions fall into place.
Neutral does not mean boring. A restrained palette with well chosen materials reads as sophisticated and intentional. It also ages better than bold feature choices that feel dated within a few years. If you want impact, add it through texture and material contrast rather than colour contrast.
Test under natural light. Showroom lighting is not the same as the light in your home. Ask to take samples near a window or outside. A tile that looks perfect under downlights can shift dramatically in morning sun.
Avoid matching. Matching every element to the same colour creates a flat, monotone result. Contrast and tonal variation give a space depth. Your benchtop does not need to match your splashback. It needs to complement it.
Think about maintenance. Very dark flooring shows every speck of dust. Very light grout discolours over time. Gloss surfaces show fingerprints. These are practical realities that affect how your home lives day to day.
Trust your instinct on the first reaction. Research shows that initial responses to colour and material are reliable indicators of long term satisfaction. If something feels wrong in the showroom, it will feel wrong in your home.
How to Stay Within Budget During Selections
Colour selection is where budgets can drift if the process is not managed. Every upgrade looks reasonable in isolation. A thicker benchtop here, a premium tile there, an upgraded tapware finish. Individually, each one seems modest. Collectively, they can add tens of thousands to the contract.
Understand what is included first. Before you start adding, know exactly what your contract specification covers. At Senka, the standard specification already includes stone benchtops, 900mm kitchen appliances, timber look flooring, square set cornices, and premium fixtures. Many of the items that other builders position as upgrades are already part of your build.
Prioritise by impact. Spend where it shows. A kitchen benchtop is seen and touched every day. An upgraded laundry tile is seen when you are doing washing. Allocate budget to the spaces that matter most to your daily experience.
Ask the real cost of each upgrade. Do not guess. Ask for the dollar difference between the standard inclusion and the upgrade before committing. Some upgrades are marginal. Others are substantial. The gap between a standard and premium splashback might be three hundred dollars. The gap between a standard and premium stone slab might be three thousand.
Set a total upgrade limit before the appointment. Decide in advance how much you are willing to spend above the contract specification. Write it down. When you reach the limit, stop upgrading and start deciding what to swap back.
What Is Already Included in a Senka Specification
One of the most common reactions during a Senka colour selection is surprise at what is already standard.
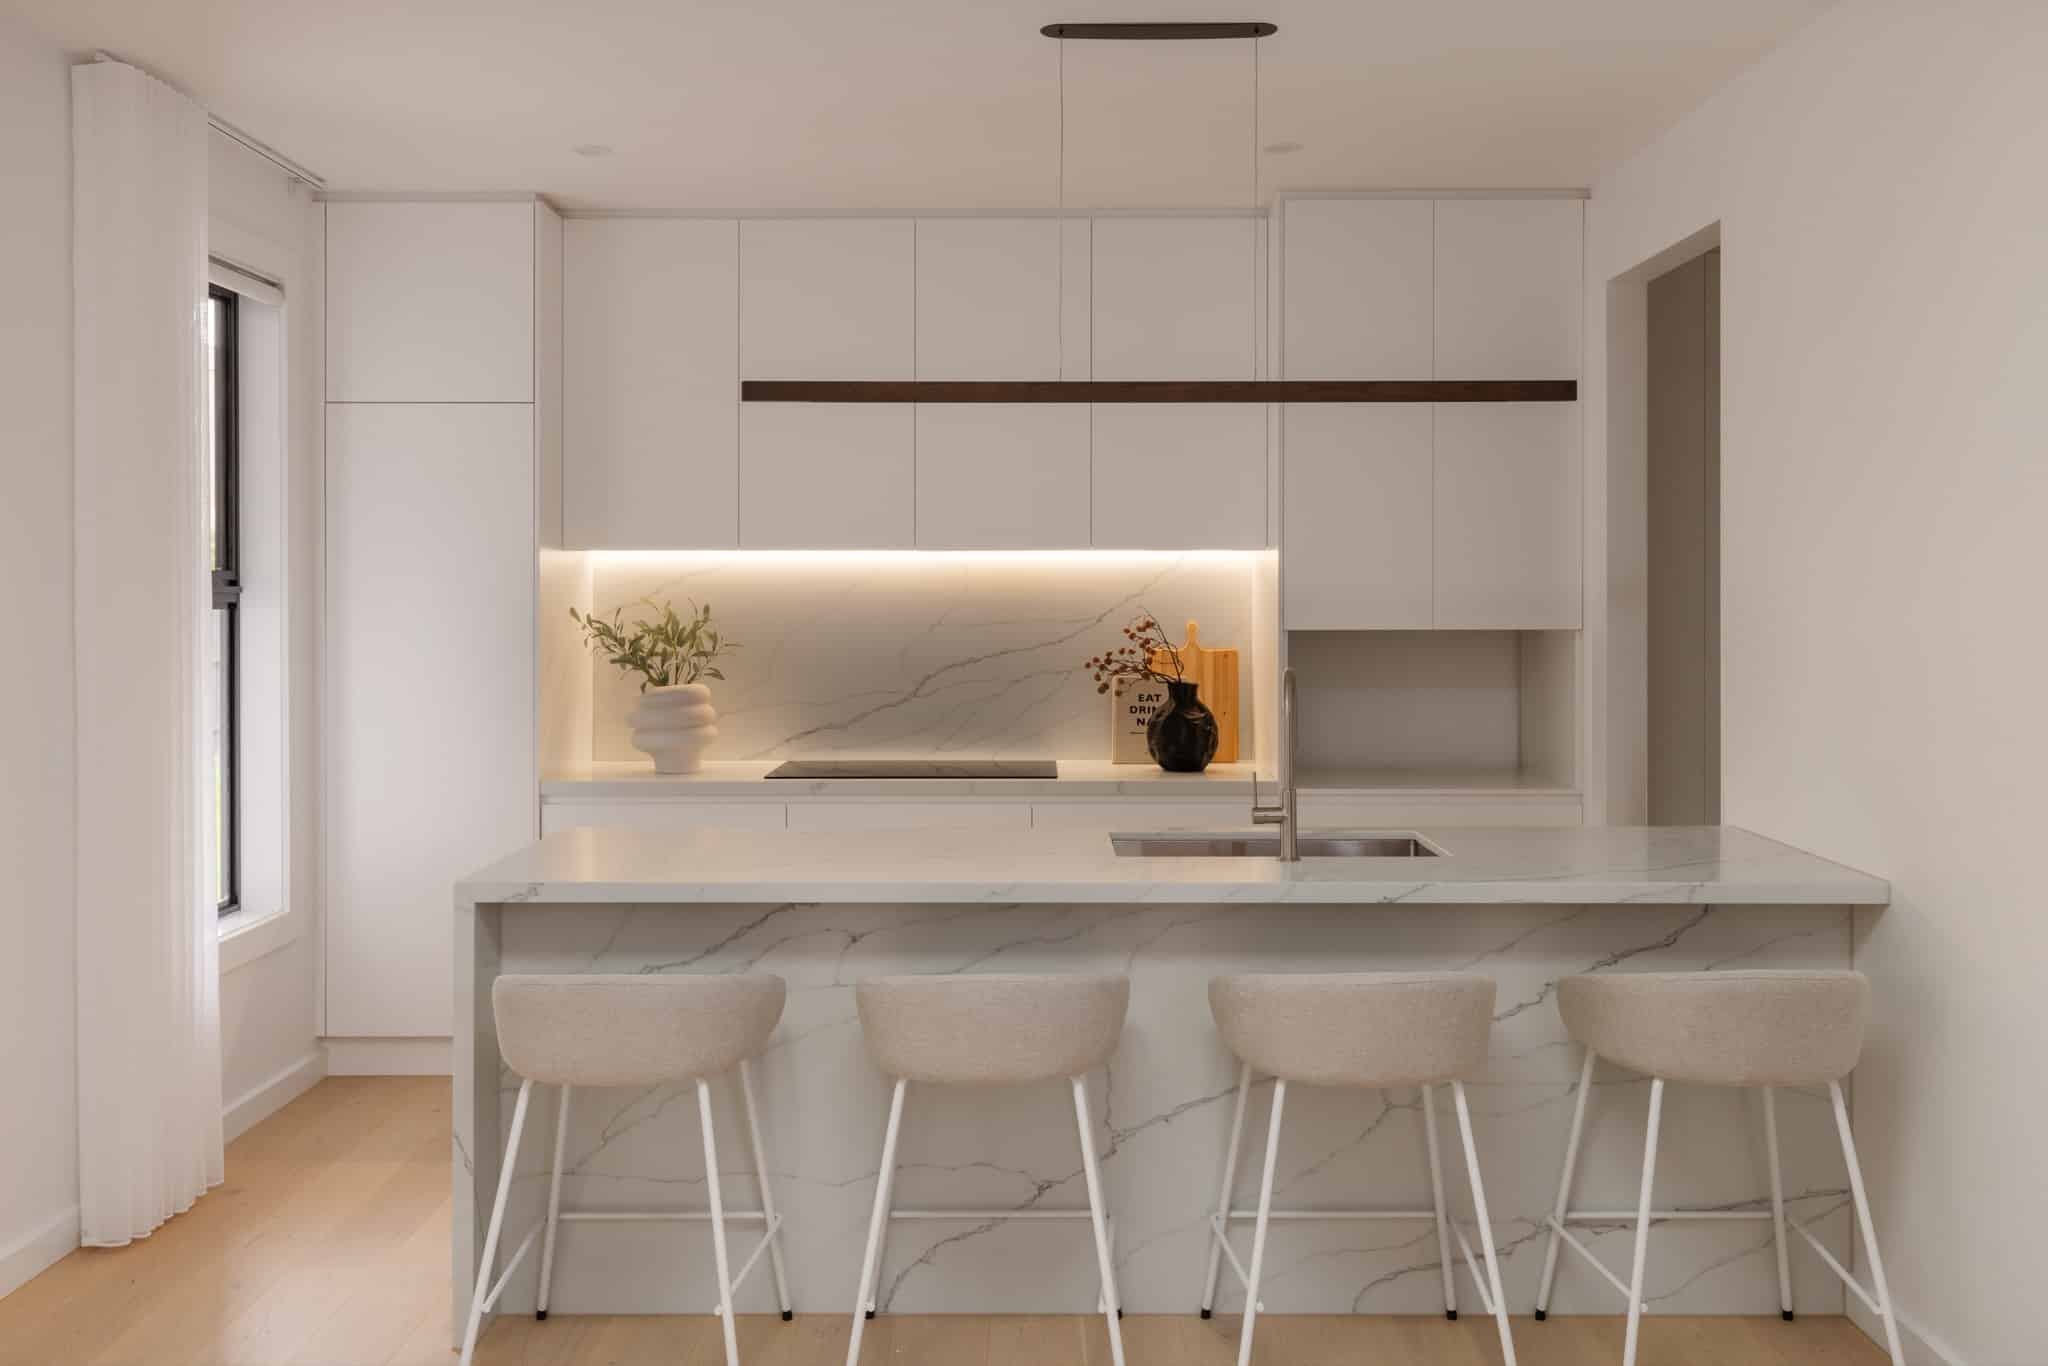
Where many builders present a base specification and then charge for each step up, Senka includes a premium specification as the starting point. This means your standard selections already include:
- Stone benchtops in kitchen and bathroom vanities
- 900mm appliances including cooktop, oven, and rangehood
- Timber or timber look flooring to living areas
- Square set cornices throughout the home
- Ducted air conditioning
- Premium tapware and fixtures
- Architectural facade with designer brick selection
- Landscaping, fencing, and driveway
This does not mean there are no upgrade options. It means the conversation starts at a higher baseline. Clients are choosing between good and better, not between basic and acceptable.
The practical effect is that most Senka clients complete their colour selection with minimal or zero upgrades. The standard specification is genuinely liveable and well considered, not a stripped back version designed to be upgraded.
How Long the Appointment Takes and What to Bring
A thorough colour selection appointment takes between three and four hours. Complex homes with multiple facades, en suites, or specialty finishes may take longer.
What to bring:
- Your floor plan (printed, not just on your phone)
- Any inspiration images or mood boards you have collected
- A list of non negotiables or strong preferences
- Your partner or anyone who shares decision making authority
- A phone camera to photograph your final selections against each other
- Comfortable shoes. You will be standing and moving between displays.
- Water and a snack. Decision fatigue is real, and a mid appointment break helps.
What to expect afterward:
After the appointment, your selections are documented and confirmed in writing. You will receive a schedule of selections listing every choice with the product code, colour name, and supplier reference. Review this carefully. It is the document your trades will work from.
If you need to change anything after the appointment, do it quickly. Lead times on some products (particularly imported stone and specialty tiles) can be eight to twelve weeks. Once materials are ordered, changes may not be possible without cost and delay.
Frequently Asked Questions
Can I change my selections after the appointment? Minor changes can usually be accommodated if flagged within the first week. Once materials are ordered or trades are scheduled, changes become difficult and may incur additional costs. This is why preparation before the appointment matters so much.
Do I need to choose everything in one session? Ideally, yes. The appointment is structured to build a cohesive palette across all categories. Splitting it across multiple sessions risks losing continuity and extending lead times for material orders.
What if my partner and I disagree on a selection? It happens. The colour consultant can help find common ground, and often the disagreement is about intensity rather than direction. If one person wants grey and the other wants warm, a greige tone might satisfy both. The key is to discuss preferences before the appointment, not during it.
Are the samples in the showroom the exact same as what goes in my home? Physical samples are the most accurate representation available. However, natural materials like stone have inherent variation. The slab installed in your kitchen may have slightly different veining than the sample. This is a characteristic of natural stone, not a defect.
How does Senka’s inclusion level affect the appointment? It simplifies the process significantly. Because the standard specification is already at a premium level, most of your selections are about colour and style preference rather than deciding whether to upgrade. This removes much of the budget anxiety that can cloud the experience at other builders.
What happens if a product I select is discontinued or unavailable? Your consultant and builder will notify you and present equivalent alternatives. At Senka, we maintain relationships with multiple suppliers specifically to manage availability and provide backup options without compromising quality.
Should I hire an interior designer for colour selection? You can, but it is not necessary. The colour consultant at the appointment is experienced in coordinating residential palettes and understands how each product works with the others. If you have already engaged a designer for your interiors, bring them along so the selections align with their vision.